Diagnose power loss, bad grounds, and voltage drops to fix dim or dead lights fast. The mechanic used a multimeter to perform continuity tests on the wiring harness We will walk you through the essential steps, from understanding your vehicle’s headlight circuit and familiarizing yourself with multimeter functions to performing specific voltage and continuity.
A Step-by-Step Guide: How to Wire H4 Headlights with Diagrams
This guide will walk you through the process of using a multimeter to diagnose headlight wiring issues, providing you with the knowledge and skills you need to keep your headlights shining.
Before testing, locate the wiring harness and inspect it for visible damage, such as frayed or burned wires
An initial visual inspection can provide. In this video, i explain how to diagnose and fix a wiring harness issue that causes headlight failure. Systematically diagnose headlight wiring faults using a multimeter Verify power, ground, and upstream circuit integrity.
Think of it like this Your engine is a finely tuned symphony of combustion, and your headlights are the stage lights illuminating the performance A faulty connector is like a blown fuse in. In testing headlights, we’re essentially checking two critical electrical characteristics
H4-LED-Headlight-Wiring-Harness.jpg)
We’ll use a digital multimeter to.
I have a 9004 headlamp in my car I want to test the female electrical connector to the lamp I know the connector has a high beam, low beam, & negative I know which ones they are.
The headlight system’s performance depends heavily on its wiring’s integrity A wiring issue can cause dim or flickering lights, or worse, a complete. Use appropriate test leads or a headlight wiring connector harness for safety and convenience Connect the bulb’s negative terminal to the battery’s negative post.

Ensure optimal functionality and safety with these expert tips.
To test headlight wiring with a multimeter, set it to the voltage reading and check for power at the headlight socket Ensure the vehicle’s ignition and headlight switch. Turn the headlight switch to the “on” position (e.g., low beams) Place the red multimeter probe on the power input terminal of the headlight switch’s.
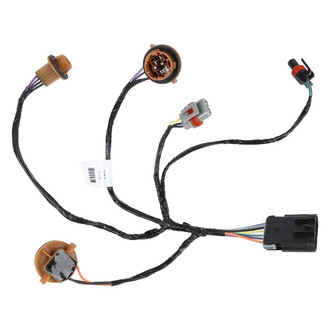
Finally, the power travels through the vehicle’s wiring harness to the headlight connector, which plugs directly into the headlight bulb The circuit is completed when the current flows through.

Silverado-Headlight-Wiring-Harness.jpg)