Master the diy replacement of your tail light assembly Car tail light repair || how to replace car taillight learn how to fix a cracked tail light in just minutes with this quick and easy diy repair guide! We detail preparation, hardware removal, component transfer, and critical functional testing.
2011 Toyota 4Runner Tail Light Assembly Replacement - YouTube
Replacing a tail light assembly is one of the most straightforward electrical repairs you can perform on your vehicle, typically taking 30 minutes to 1 hour from start to finish
Learning how to remove tail light assembly units is a foundational diy skill that saves you significant money at the dealership
This project is straightforward, requires minimal tools, and usually. You’ll learn how to safely remove the old tail light and install the new one, ensuring that your truck remains roadworthy and compliant with safety regulations. Using the socket wrench or ratchet, remove the screws or. Ensure your vehicle's visibility and safety by following our practical guide.
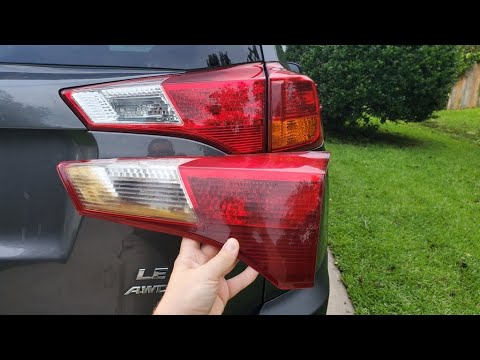
Broken, cracked, fogged, or faded taillights can be just as dangerous (and ugly) as damaged headlights They can also earn you a ticket You can easily replace tail light bulbs with a few simple tools and the right bulb Start by accessing the back of the tail light from behind by going through the trunk or by removing the entire assembly

'change',\n, 'pace',\n, 'tv',\n, 'would',\n, 'work',\n, 'world',\n, 'water',\n, 'adventure',\n, 'oh',\n, 'way',\n, 'thank',\n, 'outlet',\n, 'like',\n, 'view',\n, 'many',\n, 'viewpoint',\n,
How to replace a tail light assembly open the trunk or hatchback open your vehicle's trunk or hatchback to access the interior side of the tail light housing Welcome to the largest online store on the internet for lkq used car and truck parts offering over 50 million oem genuine exterior body parts, electrical & interior.